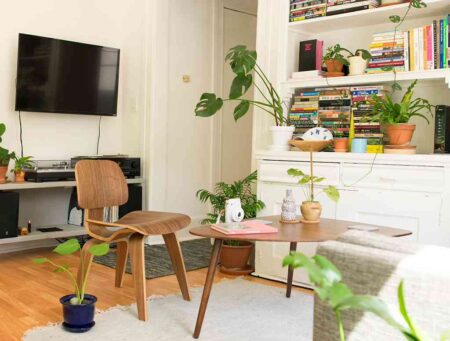




Starter homes often come with neutral finishes, basic fixtures, and quick cosmetic updates chosen for broad appeal. However, over time, you may notice some surfaces look tired, lack character, or struggle with daily wear. Before changing anything, create a room-by-room plan and set a realistic budget. A clear house renovation guide can help you organize repairs, materials, and project order. Address leaks or damaged surfaces first, then move on to finishes that improve the way your home looks and functions.
Spotting Rental-Grade Fatigue
Rental-grade fatigue shows up as more than plain beige walls. Look for lifting floor edges, chipped backsplashes, swollen trim, and grout that never appears clean despite regular scrubbing. Thin materials may also sound hollow or flex under light pressure.
Walk through your home during daylight and take photos of each room. Pictures make mismatched finishes and worn surfaces easier to spot. Then separate simple cosmetic issues from defects that need prompt attention. Loose bathroom flooring, persistent damp patches, and cracked surfaces near plumbing belong on the priority list. This overview of urgent home repairs and upgrades can help you decide which jobs shouldn’t wait.
Prioritize High-Moisture Rooms First
Bathrooms, kitchens, and laundry areas face regular splashes, steam, and cleaning, so weak finishes tend to fail there first. If your budget only covers one room, compare visible wear with the risk of moisture reaching the wall or subfloor.
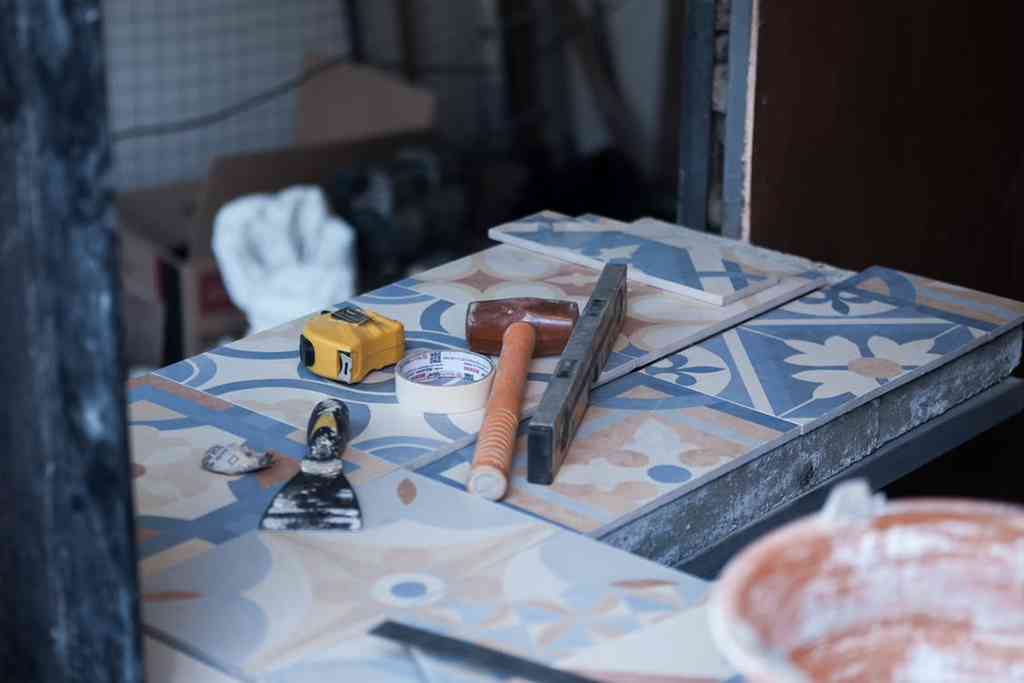
For a bathroom backsplash, shower surround, or kitchen wall, properly installed tiles create a durable, easy-to-clean surface. Before choosing a style, confirm that the substrate is sound and suitable for the setting. Ask the installer about waterproofing, grout joints, and edge finishing since these details affect both appearance and longevity.
Swap Peel-and-Stick for Genuine Tiles
Peel-and-stick products can refresh a low-traffic area quickly, but heat, steam, and uneven walls may cause corners to curl or seams to collect grime. A permanent tiled surface is usually a stronger choice when you’re ready to invest in a room you use every day.
Start with a focused area if a full renovation exceeds your current budget. A backsplash behind the cooktop or vanity can introduce color without dominating the space. Order samples and view them in morning and evening light because artificial lighting can change how warm whites, grays, and greens appear. Also check the finished thickness beside outlets, cabinets, and trim so the new surface meets nearby materials neatly.
Add Personality With Distinct Textures
Texture can give a starter home character without filling every room with bold color. Ribbed ceramics, small mosaics, matte surfaces, and handmade-look finishes catch light in different ways, creating depth even within a simple palette.
Keep cleaning needs in mind as you narrow your options. Highly textured surfaces can work well on a vanity wall, while smoother finishes are easier to wipe down behind a sink or cooking area. You can also repeat a finish in small doses, such as using the same warm tone in a backsplash, planter, and cabinet handle. Limit each room to two or three noticeable textures so the result feels collected instead of busy.
A useful home upgrade should still feel good after the novelty wears off. Bring samples, place them beside your existing cabinets and floors, and leave them there for several days. The finish that works through changing light and normal household mess is likely the one you’ll appreciate long after the project is complete.